
How to Capture Gorgeous Holiday Food Photos (5 Tips)

Each new holiday season comes with plenty of beauty: beautiful decorations, beautiful smiles, beautiful presents, and of course, beautiful food.
But while holiday food photography is tons of fun, it’s easy to end up with dark, blurry, and discolored images – the kind of shots that you won’t want to add to an Instagram or Facebook feed, let alone a website portfolio.
In this article, I share five key tips for capturing beautiful food photos this holiday season. I discuss all the essentials, including settings, backgrounds, lighting, and composition; that way, you can photograph all those delicious-looking cakes, pies, cookies, hot chocolates, and lattes in all their glory!
Let’s get started.
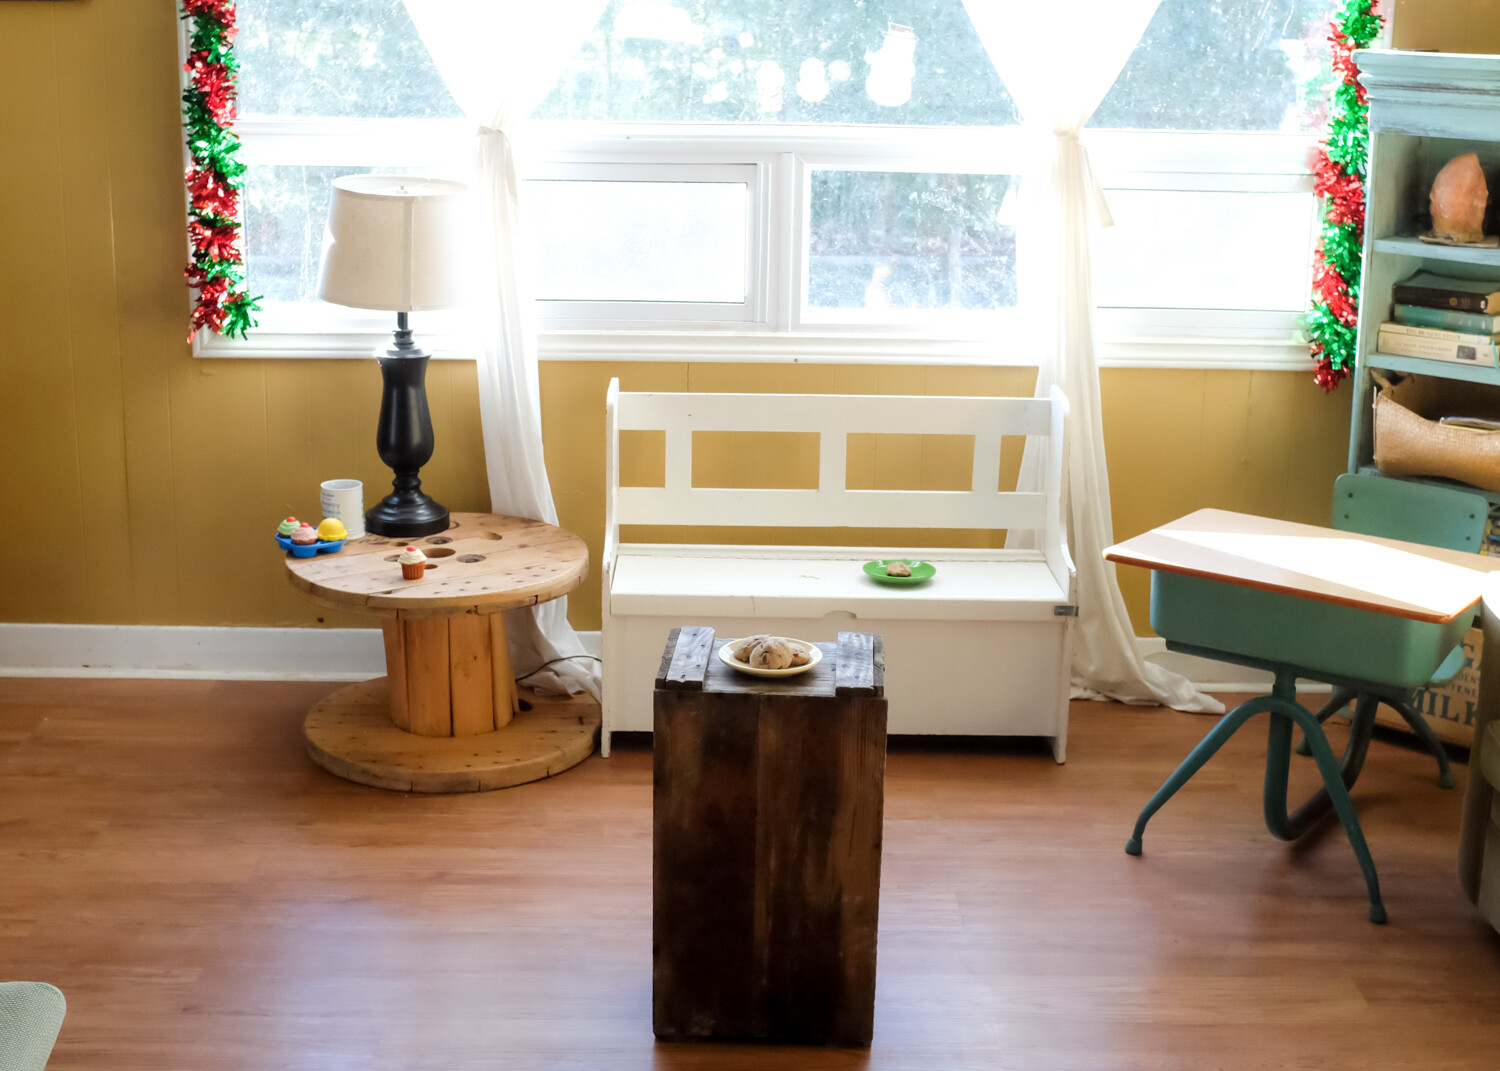
1. Carefully arrange your holiday food setup
Sometimes, you won’t have control over the placement of the food (if you’re in a restaurant, say, or you’re a guest at a friend’s home). However, if you’re making the food on your own, or you get an opportunity to adjust the food’s positioning, make sure you spend some time creating a pleasing composition.
After all, nobody wants to see a mess of cookies strewn about a plate. But a carefully ordered spread of cookies with little crumbs sprinkled artfully across the tray? That looks amazing, and the beautiful arrangement will dramatically enhance the resulting photo.
When arranging the food, pay careful attention to the broad shapes, the colors, and the relationship of each food item to its neighbors (and to the frame as a whole). Aim to create balance throughout the scene, and see if you can enhance interest through the use of color contrast. (If you’re doing Christmas food photography, green and red make for a great color combination!) Don’t let things get too messy, but don’t leave things looking static, either; try to create a natural setup that leads the eye around the frame.
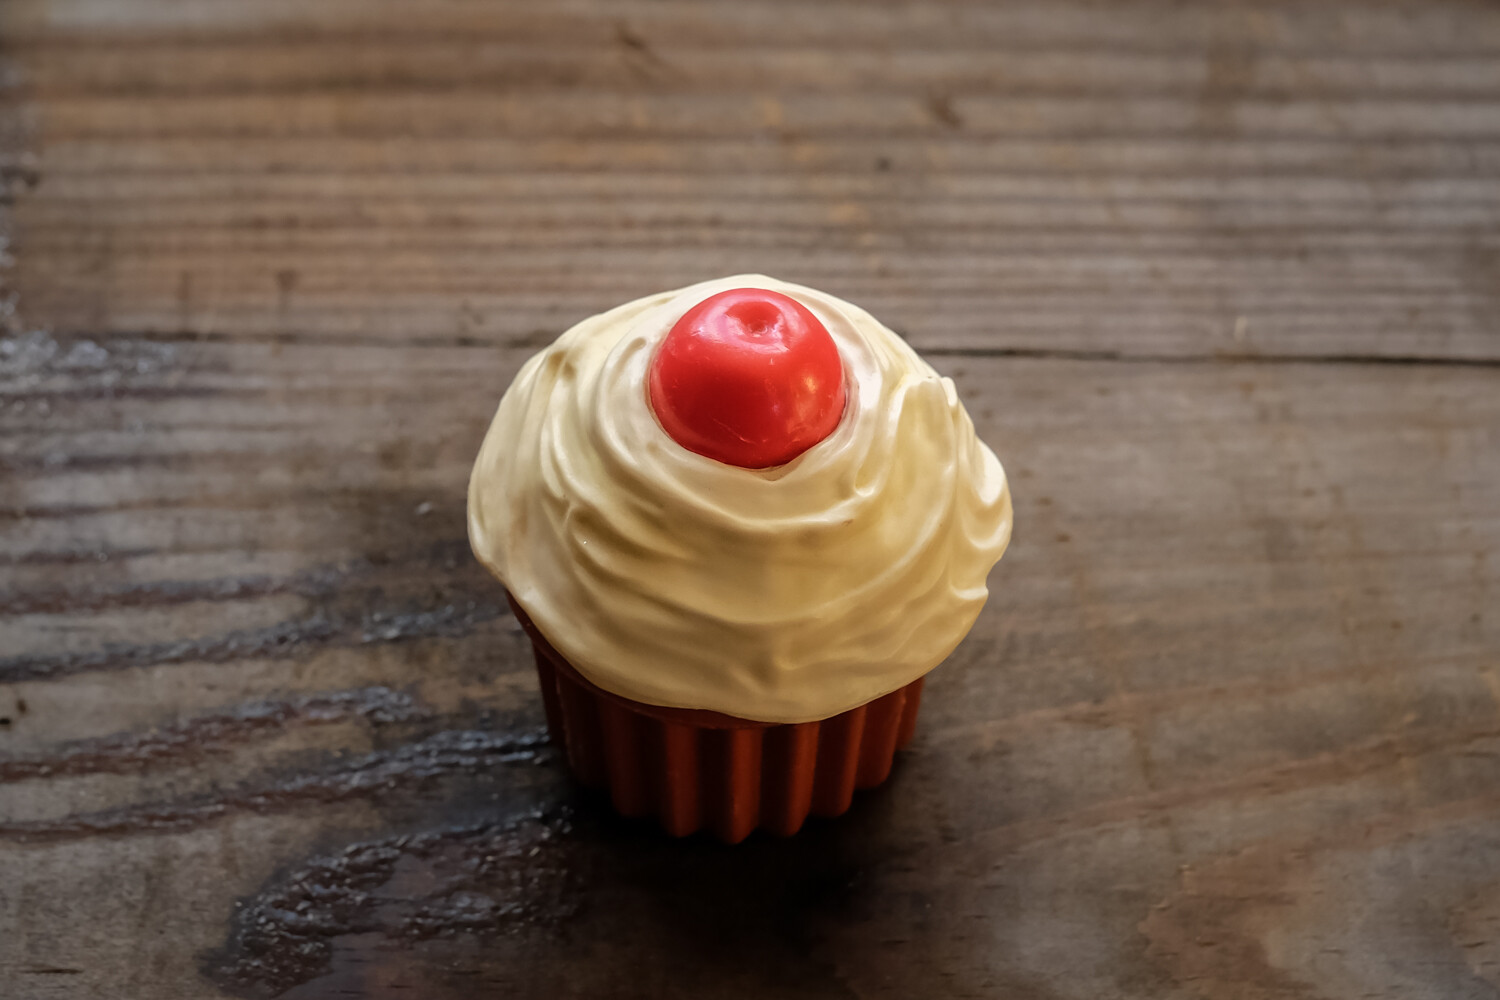
It can also be helpful to choose a general color palette but add little color accents. For instance, the splash of red in the next photo breaks up the monotony of the warm whites and browns:

It can also help to remember various food photography composition guidelines. For instance, you can use the rule of odds to enhance the viewer’s sense of dynamism, and you can use the rule of thirds to position the main elements in the frame, as I did for this next shot:

2. Use soft, flattering light
In my experience, light can make or break your food photos. By adjusting the direction of the light (overhead, front, back, or side) and by modifying the quality of the light (hard or soft), you can capture a great shot – or you can create a bland, boring, unflattering image.
So what kind of light is best for holiday food photos? First of all, make sure that you turn off your camera’s pop-up flash. This will only produce harsh shadows and bright highlights, and it won’t do the food any favors.
Instead, seek out soft light – such as light shining through translucent curtains or light coming through a north- or south-facing window. Soft light will help preserve detail and keep the food looking delicious, plus it’ll make it easier to capture well-exposed images.
Note the difference between the hard light (created by a pop-up flash) on the left and the soft light (created by a window) on the right:

As for lighting direction:
Many food photographers like to use side lighting that comes from slightly behind the food items. The side lighting helps sculpt the food and add texture, creating a sense of three-dimensionality.
Take a look at this next shot, which is lit by the large window in the background. The light skims across the cupcake from the side, bringing out depth through highlights and shadows:
I’d encourage you to experiment with variations of backlighting and side lighting. Direct backlight generally isn’t great – it’ll limit detail in your photos – but by adjusting the position of the food relative to the light, you can create different effects. Here, I’ve used soft side light to create a three-dimensional feel (notice how the cupcake is brighter on the right-hand side?).

But this next shot uses soft backlight for a moodier effect. Note that the higher position of the lighting ensured that some detail is still present on the front of the cupcake:
If you’re extremely serious about your holiday food photography (or food photography more generally), then consider purchasing some flashes or studio strobes. You can use these to mimic soft window light, and you won’t need to worry about repositioning the food in relation to the window, nor will you need to wait for good light; instead, you can shoot whenever – and wherever – you like!
3. Think about your angle
Once you’ve determined the right arrangement and lighting for your holiday food setup, you’ll want to think about your position in relation to the food – that is, your angle.
Food photographers use three broad approaches:
- Photographing from directly above
- Photographing from 45 degrees
- Photographing on a level with the food
And while any of these approaches can work, it’s important to consider how each angle will affect your final image. Shooting from directly overhead will highlight patterns and colors on top of the food, but it’ll also flatten the scene. Conversely, shooting on a level with the food will emphasize its height and potentially its depth, but it won’t let the viewer explore the broader patterns created by the food arrangement.
Note the difference between this holiday scene, shot from above:

And this holiday scene, shot from much lower:

Finally, we have a third scene, which was shot on a level with the holiday cookies:

Each angle works well, but the results are very different. The overhead view produced a flat shot, the 45-degree view added lots of depth and context, and the table-level view provided a sense of intimacy.
So before you start snapping away, take some time to think about the food you’re photographing. Ask yourself: What makes these subjects special? What do I want to highlight?
And pick an angle accordingly.
4. Choose a complementary background
Many beginner food photographers will spend time on the composition, they’ll choose the lighting, they’ll think carefully about the angle – but they’ll forget about the background.
Yet the background significantly affects the final results. A good background should look clean, it should look simple, and it should (ideally!) complement the subject. For this next photo, I snapped a quick shot without thinking, and the background was a mess:

But then I placed a clipboard behind the food, which dramatically simplified the background:

While I didn’t love the look of the photo above, it does have a nice simplicity to it, don’t you think?
Finally, I created a new setup, with the goal of complementing the cookies while adding a bit of holiday cheer:

While bokeh backgrounds – as featured in the photo above – can look amazing, you don’t have to get that sophisticated. It’s often enough to make sure the background is free of distractions; failing that, you can simply place a solid-colored poster behind the food!
5. Make sure you use the right indoor photography settings
If you’re photographing your holiday food indoors – and I’m guessing you will be! – it’s important to pay careful attention to your camera settings. Indoor scenes tend to have very little light, and if you’re not careful, you’ll end up with blurry and/or underexposed photos.
I’d encourage you to switch your camera mode to Aperture Priority, which will give you control over your aperture and (indirectly) over your shutter speed. (Manual mode is another option, though it can be a bit intimidating for beginners.)
Make sure your shutter speed is fast enough to produce sharp images (1/100s is a good starting point). And if you’re struggling to get a reasonably fast shutter speed while also capturing a well-exposed photo, it can help to boost the ISO. (If you plan to regularly photograph food, a tripod can be a big help, too; it’ll free you from the need to use a fast shutter speed.)
By the way, I’d also encourage you to use a lens with a wide maximum aperture. That way, you can shoot wide open, which will let in more light while also creating beautiful background blur effects!
Holiday food photography: final words
Now that you’ve finished this article, you know how to capture some beautiful holiday food shots.
So have plenty of fun! Enjoy the delicious food! And be sure to share your photos in the comments below.
-
GENERAL
-
PREPARATION
-
LIGHTING
-
COMPOSITION
-
GEAR
-
ADVANCED GUIDES
-
CREATIVE TECHNIQUES
-
POST-PROCESSING
-
INSPIRATION


