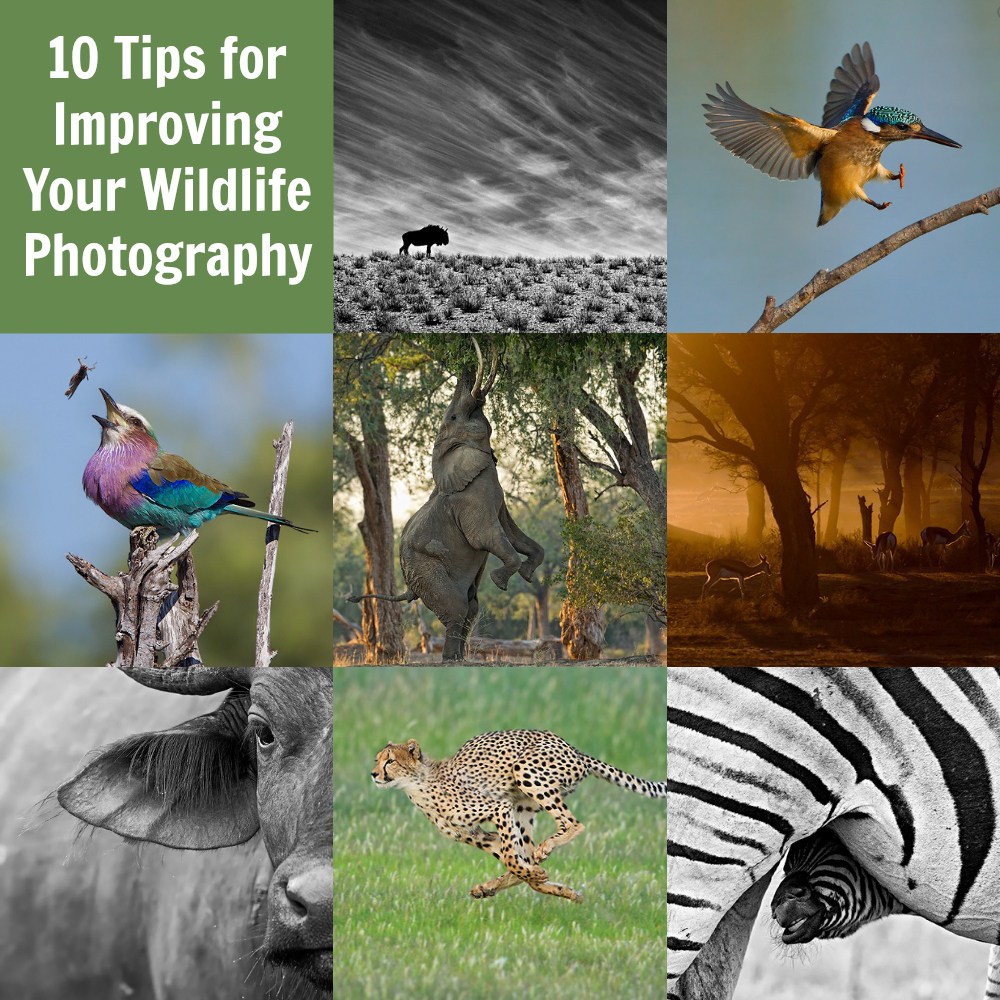
10 Tips for Improving Your Wildlife Photography
A guest post by wildlife photographer Morkel Erasmus.

Ever since DSLRs became readily available, more photography enthusiasts have started venturing into wildlife photography.
It seems that wildlife photography, in conjunction with landscape photography, has really seen a huge growth spurt over the last few years, at least as it pertains to the number of people practicing it as serious hobbyists or budding professionals.
This is especially true in my native country of South Africa, where it’s long been many a family’s tradition to visit legendary self-drive safari locations such as Kruger National Park. Having neighboring countries like Namibia, Botswana, and Zimbabwe doesn’t affect this trend negatively!
Yet spend some time on your favorite online photography forum (at least those that allow the posting of photos) or on other sites like Facebook or Flickr where photosharing is common, and you might notice that not every photo taken of a wild animal really speaks to you.
I’m not sure whether many folks just snap away and hope the image comes out half-decent, or whether many just think they’re doing their subjects justice (when that is not at all the case). Let me say outright that no offense is intended, and I also take photos that fall into the above categories.
In fact, I do it on every photographic trip I take.
But it’s stepping beyond that and getting a rare wildlife image that ticks all the right boxes that we all need to strive for. And we must be prepared when the opportunity comes along.

In today’s article, I will attempt to provide you with some easy-to-apply tips and advice for improving your wildlife photography.
Some of these tips might seem like common sense, and you’ve probably read a similar list of “how-tos” elsewhere. But remember that common sense is not so common at all these days and that everyone has their own take on things, however similar it may be.
I do think I will cover a few points that are not just based on pure technical skill; photography is, after all, an art-form. Sometimes we need to be freed up to capture the vision we have in our mind’s eye, rather than stick to conventions and norms.
Here is a quick overview of the points I will cover in this article:
- Know your gear
- Know the wildlife
- Know the wildlife photography “rules;” break the wildlife photography “rules”
- Work the light
- Shoot wider; shoot closer
- The more, the merrier
- How low can you go?
- The content-technical dichotomy
- Patience isn’t a virtue; it’s a necessity
- Be there and enjoy it
These are the points that I try to cover when leading a photographic safari or presenting a workshop.
(Also note that I include the genre of bird photography in my definition of wildlife photography.)
Let’s get cracking!

1. Know your gear
This sounds like the biggest cliché, but you know that it’s true.
The really great, action-packed moments in wildlife photography last, on average (based on my experience), between 5 and 20 seconds. If you are not deeply familiar with the settings of your camera or the abilities of your chosen lens, you will either miss the shot or blow the images you do manage to capture.
Here’s what’s important:
- Know the minimum shutter speed at which you can obtain a sharp image with your camera/lens combo
- Know any added margins that the in-camera or in-lens stabilization gives you
- Know how to quickly toggle between focus points or focus modes
- Know how high you can push your camera’s ISO setting and still achieve acceptable results
In general, I like to say that you need to be able to make most, if not all, of the necessary adjustments to your exposure/focus settings without lifting your eye from the viewfinder.
The action you see between the cheetahs in the following image lasted all of 10 seconds, even though we sat with them for more than an hour:

2. Know the wildlife
This goes without saying, right? Since much of wildlife photography is based upon capturing fleeting moments of natural history (read: interesting poses or behavior), it pays to be able to somewhat predict your subject’s behavior beforehand.
Granted, not every species is as predictable as the next. But there are patterns of behavior ingrained into every animal species. Knowing your subject can make the difference between being ready and prepared for capturing that “golden moment” and watching in agony as it flies by.
Now, there is only one way to get to know wildlife:
Spend time with it. Don’t just hang around for a few minutes and seek out the next subject if the one you are observing or photographing isn’t delivering the goods. Sit with wildlife. Watch wildlife. Wait.
(This also ties into patience, which I will discuss in more detail later.)
This image was captured by knowing what the Lilac-breasted Roller was going to do to its grasshopper-lunch, and being ready for it:

3. Know the wildlife photography “rules;” break the wildlife photography “rules”
There are certain unwritten rules that form the foundation of good photography, regardless of genre. And, of course, then there are certain “rules” that find their application mostly in the genre of wildlife photography.
Understanding proper exposure and the use of the histogram, as well as creating proper compositions using a guideline such as the rule of thirds, are all important to ingrain in your subconscious. You want to be able to instantly capture that fleeting moment properly.
In wildlife photography, much is made about eye contact with the subject, as this gives life to the image. In the case of avian photography (birds), you can take this a step further: the head angle in relation to the camera’s imaging sensor needs to be at least perpendicular to it, but ideally turned a few degrees towards the sensor (and therefore turned towards the viewer, who ultimately gets to view the image captured by the sensor).
The image below, for example, follows strong rule-of-thirds compositional guidelines:

Once you know the “rules” and the guidelines, and once you know when and how to apply them, it’s time to start breaking them. You should test the boundaries a bit, you know? You don’t want your photos to always look like the standard images that every photographer is getting.
Take a look at the image below. I mentioned the “need” for eye contact. Yet sometimes it can work to shoot an image in which the subject is not giving the photographer eye contact (this often means the animal is busy with something else and too busy to turn its attention to you).

4. Work the light
The first piece of advice I got from a professional wildlife photographer when I started shooting is to stick to the hours of golden light.
This means getting up early in the morning and being in the field before sunrise, and going out in the afternoon to make the most of the last hours of sunlight. The light at midday (mostly between 11:00 and 16:00, at least where I live) is generally harsh and robs images of that spunk that they need. The exception is on overcast days, when the clouds act like a massive softbox and filter out the light evenly.
On days like that, I shoot all day (as long as there are willing subjects!).
Since photography is all about painting with light, you need to know how to use the light to your advantage in wildlife photography. Often, we will find ourselves in a position where the light isn’t ideal or, heaven forbid, the light is sweet but from the wrong direction (and we aren’t in a position to move to a better spot).
The good news is that light from the wrong direction can add lots of mood to an image. Shooting into the light is tricky to pull off, but if you adhere to my first tip (to know your gear), you can get some pretty interesting images from a less-than-ideal light position. The image below is one such photo:

5. Shoot wider; shoot closer
Too many wildlife photographers get fixated on what I call the “focal-length debacle,” where it becomes an obsession to have the longest/biggest lens possible.
Now, I know this is location-dependent, as you might need more than 600mm just to get any shot at all in certain wide-open spaces. But the issue I want to tackle is more related to our obsession to get as close as possible to the animals and isolate them totally from their environment. The result is often an image that looks like it could be taken of a captive subject in a controlled location, with a perfectly smooth background and no idea of the real environment in which the animal finds itself.
Instead, challenge yourself to shoot at a wider angle to give the viewer a better idea of where you took the image and where your subject has to eke out a living in the wild. This is applicable to any species you photograph, from a squirrel to a deer to an elephant.
The elephant below was photographed with a wide-angle lens and a polarizing filter to give you a sense of the environment, as well as to make the most of the clouds and sky:

The flip side to shooting wider is (you guessed it!) shooting closer.
And I mean way closer. Get in-your-face close (by changing your position or by using a longer lens with an optional teleconverter) to create different and interesting studies of the animals and birds you photograph. This will also help you think in terms of more abstract compositional arrangements.
Have a look at this photo of a Cape buffalo, for example:

6. The more, the merrier
No real intricate explanation needed on this one. In wildlife photography, one is company and two is often a crowd, especially when there’s food or shelter involved. If you have a good view of more than one member of a species, stay a while!
Look at the images below. First up: a solitary African spoonbill, minding its own business on a perch, happy as can be. Throw another spoonbill into the mix, and you have a recipe for good interaction:

7. How low can you go?
This is not a trick question, nor is it a call to do the limbo. The point of view of a wildlife photograph is just about everything. How you portray your subject can make all the difference in the world.
In short, try to get an eye-level perspective (or go even lower if you can). This brings the viewer of your image right into the scene and confronts them with the view of the world from your subject’s perspective.
Obviously, what counts as eye-level is relative (you will pretty much always be at a lower perspective than a giraffe, for example), but you get the idea.
Always bear in mind the constraints of your environment. In most reserves in South Africa, you are not allowed to get out of your vehicle in the field. This restricts you to a certain perspective.
Look at the images below for illustration. The first African painted dog was photographed from an open game viewer. The result is a somewhat bland shot; it’s nothing special to my eyes.
The second image, however, was taken lying flat on my stomach in a sandy riverbed not 20 meters from the pack of canines, and the alpha male was checking me out. This perspective makes the image come alive.

8. The content-technical dichotomy
This is an interesting one. Does great content trump a technically great image that includes average content every time?
It may be different where you live, but I am particularly relating this one to the African safari experience. Every tourist wants to see the “big 5,” or at least a lion. But if you’ve ever spent time around wild lions in the daytime, you will know that they are actually shoddy models for photography. They sleep up to 20 hours per day.
Conversely, I have had great photo opportunities from impala, who are the most common ungulate you’ll come across down here in the bush. My advice to the discerning photographer would be to look for great opportunities regardless of the species when the light is good!
Have a look at the contrast between these two images: an impala jumping gracefully and a “standard” portrait of a male lion, both in good light. Which do you prefer?

Let’s use a second example, lest it look like I am becoming blasé about the subjects I am fortunate to be able to photograph in our wonderful part of the world:
Squirrels.
Everyone photographs squirrels, right? In the images below, the top squirrel is munching something with nice soft light and a nice low angle. And at the bottom, a mommy is carrying her youngster at a precarious height over a large branch at speed by biting down on the youngster’s stomach flap with it holding on for dear life. The light in the tree canopy wasn’t the best, but this is clearly a case of content trumping a technically good image.

The jury is still out on this one. Awesome sightings of lions won’t always provide awesome images. Learn to see the potential in the mundane to create amazing photographic moments, then go out and make good images.
The obvious ideal is to capture a wildlife image with great content in great light shot with just the right settings: the utopian photo that most of us will never get right.
9. Patience isn’t a virtue; it’s a necessity
As a wildlife photographer, your images are predicated on the fact that things in nature are unpredictable.
Anything can happen at any time, but most things happen only rarely. Or, at the very least, they rarely coincide with the exact time that you are in that specific spot.
It is therefore imperative that you become patient. Very patient.
Now, I sometimes catch myself being very impatient out in the field. It’s something you constantly have to work on.
In fact, it’s almost a culmination of many of the things we’ve discussed so far. Observing your subjects and getting to know their behavioral patterns requires a great deal of patience.
Often, the implication is that you need to return to the same spot for days before things start to happen. And even if you do that, you run the risk of nothing happening and wasting your time.
The image below was captured after staking out the tree with the impala kill for more than five hours. I had also driven past this tree many times earlier that day to see if there was any action. I knew the leopard would return, but I had no guarantee that it would return before nightfall.

10. Be there and enjoy it
I will conclude this lengthy article with the following advice (I do hope you haven’t been bored to tears reading this!):
Be there and enjoy it!

By this, I don’t just mean that you need to physically show up and be at the right place at the right time (although of course that applies).
I actually mean that you need to be present in the moment. Don’t get so caught up in the technical issues and your settings that you don’t take in the moments you are witnessing while out photographing birds and wildlife. We need to be mindful of the privilege of spending time in nature and being in places where humans haven’t quite exerted their full force.

Maybe for you this is just the most isolated spot in your local park where you can sit and observe and photograph squirrels and birds. Or maybe it’s facing a wild Kodiak bear on the Alaskan floodplains.

Regardless, enjoy what you are doing! Have fun doing it! How does it help us to spend so much time on this amazing hobby cum art form if we are not enjoying the time spent?
I hope these wildlife photography tips will stand you in good stead out there in the field. They have for me. Good light and good sightings to you all!
About the author: Morkel Erasmus
After having been an avid naturalist from a very young age, picking up a camera for the first time early in 2009 proved to be a pivotal moment in the life of Morkel Erasmus. Since then, he has been infused with an unbridled passion for capturing forever fleeting moments of natural history and sharing them with people to showcase the wonderful natural heritage of his native Southern Africa, and to create awareness to conserve this heritage for future generations.
“I absolutely love being in the wild and unspoiled places of this world,” says Morkel, “and living in South Africa means there are plenty of those to choose from.”
An industrial engineer by profession and an accomplished artist across many genres, from music to poetry, Morkel has always enjoyed whatever allows him to express his creativity to the fullest. Photography turned out to be the perfect marriage of his engineering brain and artistic soul. Showing off God’s glorious creation is something he enjoys immensely. He is also a Nikon South Africa ambassador.
Besides being widely published, Morkel has been honored for his commitment to his craft with various awards in the short span of his photographic career, most notably by receiving a “Highly Commended” award for one of his images in the 2010 BBC Veolia Wildlife Photographer of the Year competition. Morkel is a devoted husband and a proud father of a beautiful daughter and soon-to-be-born son.
See more from Morkel on his homepage or blog, and connect with him on Facebook, Twitter, 500px, and on Instagram.


