Can Camera Lens Get Wet: How to Dry a Camera Lens
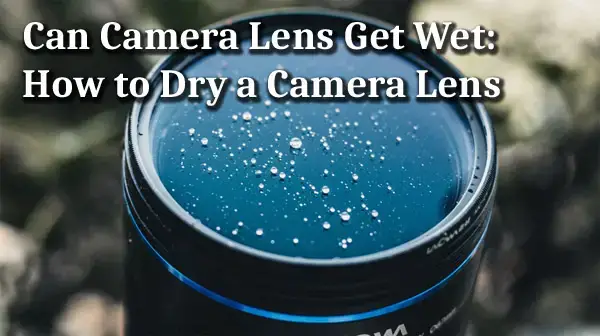
If you take pictures outside your home, it is bound to happen at one point or another. The moment when you feel everything is lost and doom is near — you drop your lens in water.

Thankfully, the sky is not falling, and you can protect and save your precious equipment if you take the right and necessary steps quickly. Keep reading this article to see what these steps are.
Using Your Camera In the Rain
I hope you never have the misfortune of dropping your lens in water, but a more common scenario that you might encounter is using your camera in the rain. Technically, the risks are the same, but the probability of damage to your lens is quite less compared to a full submersion.
What if you use a Weatherproof Lens or Body
Most camera lenses and bodies can handle a bit of rain, even if they are not rated weather sealed or weatherproof. However, you should be able to use a weather sealed lenses out in the rain without trouble—they are designed exactly for that case.
You Dropped Your Lens in Water – Now What
Let me be clear. Unless you’re really lucky, you will have some damage to your lens if it gets dropped in water. But, if you act quickly, you can minimize the risk, and if you’re lucky, completely reverse it. Here is what you need to do.
Step 1 – Switch off Your Camera
Water and electricity don’t go well together; especially when you’re concerned about the health of your equipment. That is why the first step you need to take is to switch off your camera. It doesn’t matter if only your lens got wet or if the entire body and lens got immersed — do it immediately.
Step 2 – Check for Moisture/condensation in the Lens
The next step you need to take is assess the damage, which means checking for moisture, water, or condensation in your lens. This step will not help you minimize the damage in any way, but it will help you decide if you should try and get the water out yourself or consider a professional.
Step 3 – Remove Your Battery, accessories, and Memory Cards.
The next step you need to take is to remove your battery, memory cards, and accessories. Removing the batteries is obvious, as you’d want to limit any sort of electrical contact. As for the memory cards, you’ll find that most memory cards will survive some contact with water, but removing them and letting them dry is the safer option.
Doing so will also allow you to back up your images once the memory card has dried sufficiently.
Step 4 – Remove Your Lens
The next step in the process is to remove your lens from the body. If the body is completely soaked, give it a couple of shakes to remove as much water as possible. Once you’re sure that there is no water between the lens seal and the mount, you should remove your lens.

Make sure to point your camera to the floor to avoid any water droplets entering the sensor area. Once the lens is off, put the protective cap on the body immediately to minimize issues.
Step 5 – Inspect Your Lens Again
Now that the lens is off, it is time to inspect the lens once again and see what kind of damage it received. Many times, the damage will not be evident, and you’d have to account for that as well.
The kind of water the lens got soaked with is extremely important to know as well. For example, seawater has a lot of dissolved salt, which can destroy your lens mechanism. Pond water has a lot of fungi and other micro-organisms, which can grow inside your lens and ruin it completely.

Step 6 – Rinse Your Lens
This sounds counter-intuitive, but it is not. IF your lens was in contact with saltwater or impure water, then water damage is the least of your worries. By rinsing your lens, you are more likely to save your lens as pure water damage can be managed, but salt and fungi will be much harder to tackle.
To rinse your camera, use some bottled water (ideally) and gently rinse your lens. You can’t cause more damage to the water than the lens already has, so don’t worry about it. Once you’re sure you’ve cleaned the lens as much as you can, it is time to save the lens.
Getting the Water Out – Reversing Damage to Your Lens
Now it’s time to save your lens from the water damage. Since there is no source of electricity in the lens itself, there is no risk to the electronics, but the more time water stays inside your lens, the more damage it can cause to other areas of your lens.
The methods that we’re going to describe will not replace professional repair services, but they will minimize the water damage in most cases, and sometimes, might reverse it as well.
How To Check If Your Lens Has Water
Before you take any of the steps to dry your lens, you should make sure that your lens actually has water in it. This is because most modern lenses have decent weather sealing, even if they are not rated as weather sealed.
So, you might think that water got in your lens, but it might not be the case. That is why we should confirm it.
The reverse of this can also be true. A lens might appear completely dry from the outside, while there might be a significant amount of water inside — enough to ruin it. Here is what you should do:
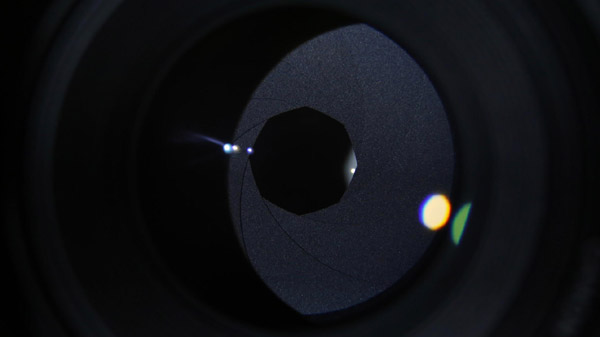
Check the inside of your lens and see if you can spot some condensation, drops of water, or impurities that were not present earlier. If you have a zoom lens, try zooming in and out while staring directly through the barrel. It is also a good idea to point the lens to a strong source of light, as this will backlight the dust, moisture, and other things, making them easier to spot.
Once (or if) you do find water or moisture inside your lens, try these:
Use Silica Gel To Soak The Water
Silica Gel is a form of silica that is extremely porous. It is likely that you’ve seen small packets of it inside your electronic devices’ boxes. There, they serve to absorb moisture and protect the electronics, and that is exactly why we are going to use them.
You might find silica gel in stores — it’s cheap too. It is also available on Amazon, but getting it from a store would be faster. Get more than you need, as you can use the spare later on.
Once you have it, add a decent quantity of silica gel to an airtight container and put your lens in it. Make sure to place the lens with the front element facing down so that any water that trickles out does not contact the electronics on the back.
Once you’ve done that, place the container in a warm area for at least 48 hours, as silica gel can work slowly sometimes. Take a look after 48 hours and see if you see any noticeable improvements. If not, you can leave it in for up to a week.
Put Your Lens In Rice To Get the Water Out
This method works on the same concept as the silica gel, but the difference is that you’ll probably find rice easily in any part of the world—you might have some in your kitchen. This way, you can start the process quicker and minimize the damage.
The process of using rice is the same as well. Place your lens face down in an air-tight container with a decent chunk of uncooked rice. Once you do, leave it for a few days and look for improvements.
If you’d like to see a video of the process, here is one with rice. However, the creator did take the process further by adding a candle heater to the mix. Watch the video for details.
Place Your Lens in Direct Sunlight (High Risk)
If the above methods fail or don’t work, you have little left to lose by trying this. As a last-ditch effort, place your lens in direct sunlight to dry out the water.
This method is not without its risks, and if you accidentally leave your lens out while it rains, then you’ll have more trouble than what you began with. But, when done right, this may be the last-ditch effort you need to push the water out of your lens.

Get Professional Help
Even if you follow all the steps above and minimize the damage to your lens, you should take it to a professional and have it checked to see if you were able to reverse or prevent the damage to your lens entirely. If you couldn’t, a professional would help you fix it at a fraction of the cost of replacing the lens.
Note that this should be your first step if you dropped your lens in mud, dirty water, saltwater, or other impure sources of water. In those cases, you might be able to extract the water out, but the other stuff will definitely cause damage. And, that can be avoided if you take your lens to a professional quickly.
Professional help can come from a local store or from the manufacturer. If you have an accident warranty for your gear, then sending it to the manufacturer is the ideal choice.
Conclusion
Avoiding accidents with lenses is impossible to do completely. That is like expecting never to be in a car accident while driving.
Out of all the drops, scratches, bumps, and other accidents that can happen with lenses, water damage is the one that you can help reduce damage from — by following the steps in this article.
But, do remember all the precautions and issues that different water sources can cause to your lens. Assessing them and following the right course of action can save you hundreds, even thousands of dollars in labor and heartbreak.
On the topic of lenses and water protection, here are a couple more articles that will interest you.
https://photodoto.com/what-is-the-essential-underwater-photography-equipment-for-beginners/
https://photodoto.com/why-you-need-a-camera-lens-protector/


