Getting Started With Affinity Photo Editing Software
Affinity Photo is a powerful image editing software. It’s both affordable and enjoyable to use.
But, as with any program for custom manipulation of photos, there is a reasonably steep learning curve involved. If you’re used to editing your images with Adobe Photoshop, you’ll find the interface is different. This will take only a little getting used to.
I haven’t been using Affinity Photo for very long and have found it to be well designed, allowing for intuitive use. Switching image editing programs is not something I choose to do lightly. When you’ve been used to a particular workflow within a computer program, there must be a reasonable motivation to change.
My motivation was partly price. Affinity Photo is a product you can purchase outright without any monthly subscription fees. It’s also discounted from time to time, making it even more affordable. Even still, at full price, it is very reasonable for the quality of the product you receive.

Opening files in Affinity Photo
The first step is to open a photo file you want to edit. This is pretty straightforward and there are a few options for making it happen.
For Windows users, you can right-click an image file in your file manager and choose Affinity Photo from the list. If Affinity Photo is not listed (and it probably won’t be the first time you use it), click Choose Another App. You’ll then need to locate Affinity Photo on your C:/ drive and select it. Here you can also check the box at the bottom of the panel to always use Affinity Photo to open the type of image file you have chosen.
Using a Mac, you can simply open Affinity Photo, navigate to File in the top menu, and click Open. This also works on a PC.
You can also drag and drop photos from your file manager onto Affinity Photo when it’s running.
Affinity Photo opens all standard image types, including RAW files. There is no need for two separate programs to open and edit RAW files. Affinity Photo combines functions that require both Lightroom and Photoshop. I am finding this makes for a great image editing workflow.

Becoming familiar with the interface
Once you’ve opened your first photo, you have a massive number of options available to work with. Let’s walk through some of the most important features and where to locate them in the user interface.
Under the main menu at the top you have the Persona and Context toolbars. Here you’ll find buttons for various Personas such as:
- Photo Persona (for photo editing)
- Liquify Persona (for manipulating distortion)
- Develop Persona (for developing RAW images)
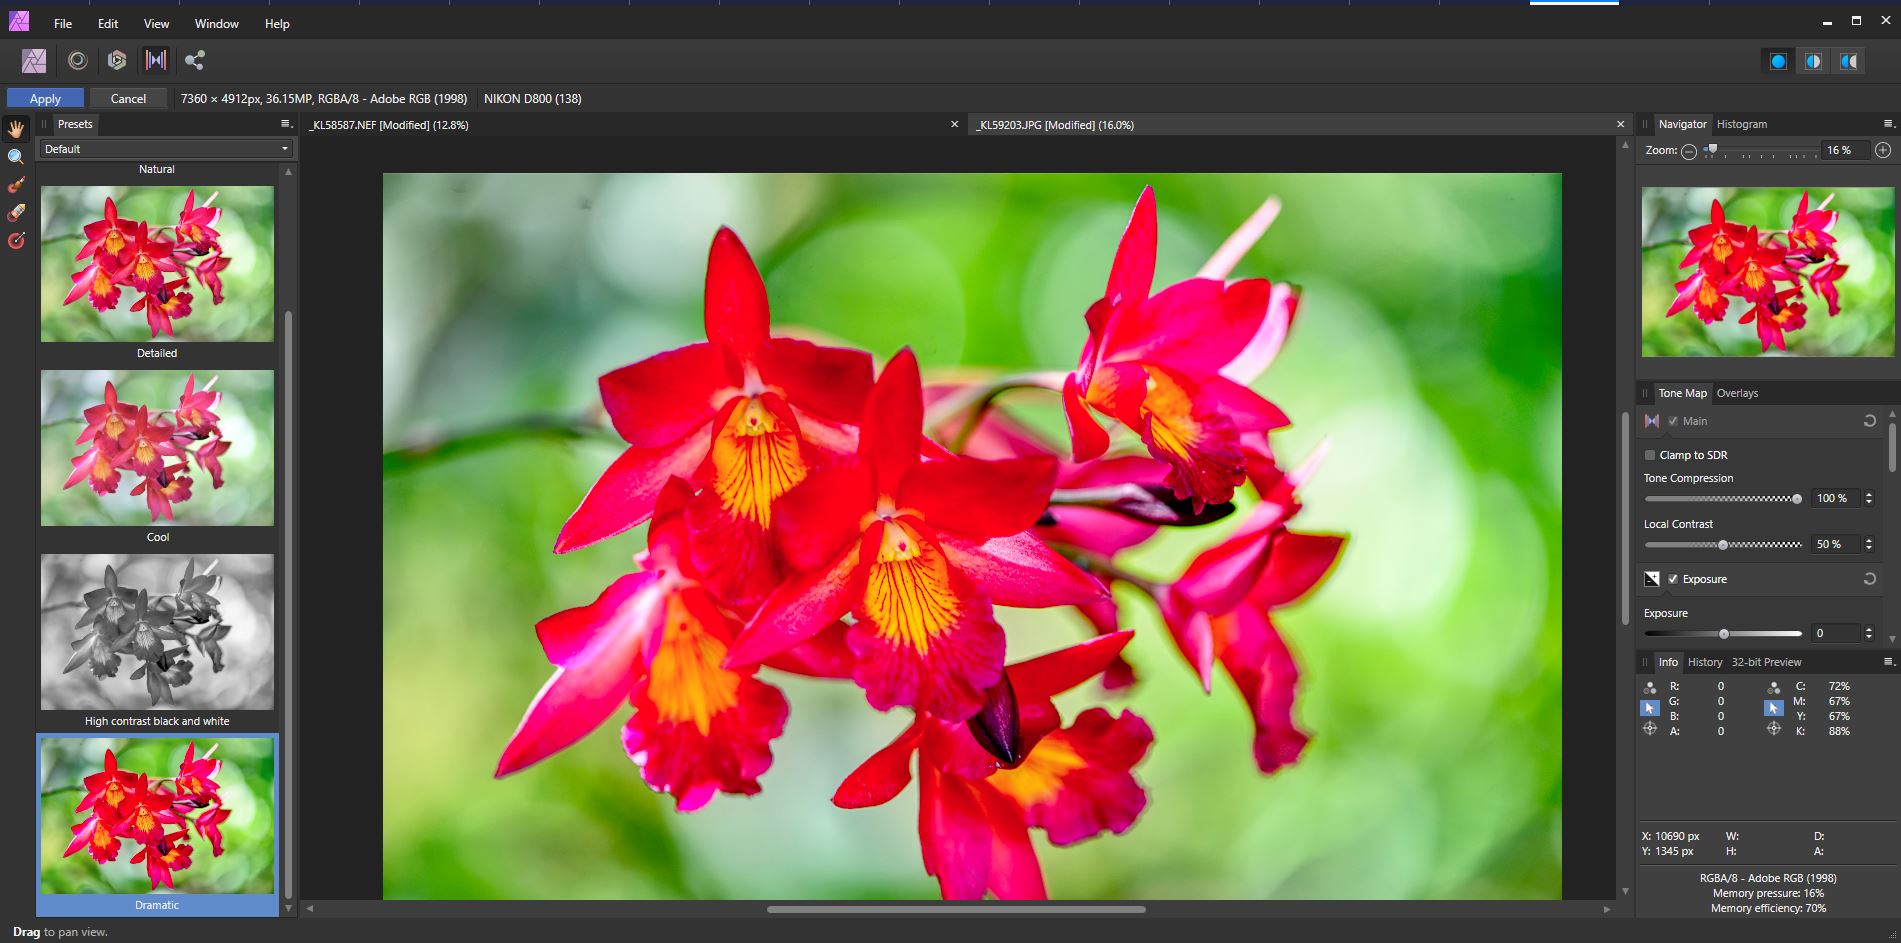
- Tone Mapping Persona (for mapping image tones)
- Export Persona (for when you’re ready to export your image)
As you select a Persona, the Context toolbar changes to include only the tools you’ll need with that Persona.
With the Develop Persona selected, the Context menu shows a different set of tools.

These tools allow you to control how you see your photo as you’re working on it. You can view a single instance of your image. There’s also a split-screen and a mirrored option. The mirrored option is shown below.

Within this Persona, you have a set of adjustment tools in the right-hand panel. These allow you to make similar adjustments to your RAW files as you can in Lightroom.
Once you’ve finished making the adjustments to your RAW image, click the blue Develop button in the top left corner. The interface changes to the Photo Persona, where you can continue to refine the edits on your image.
Here is how the Context toolbar looks when you have the Photo Persona selected while you’re editing your photos:

You have buttons for making auto adjustments to levels, contrast, color, and white balance.
When editing photos in the Photo Persona, you also have a specific set of relevant panels open. These panel sets make up your Studio of editing tools. They are also highly customizable. To show or hide various panels, go to View in the top menu, then select Studio.
Here I have the panels for Layers and Adjustments open:

Getting a feel for Affinity Photo
As you can see, there are many similarities between Affinity Photo and other image editing software. I’ve found that working in the Photo Persona is very similar to my workflow in Photoshop.
The Develop Persona took a little more getting used to. But it offers a very well-designed interface and makes working on RAW images straightforward once you get used to how it functions.
Like anything new, getting used to Affinity Photo takes some commitment and practice. This is true whether you’re new to photo editing or have been using other software to manipulate your images.
Having everything you need to edit RAW images from start to finish, including the option to use multiple layers, has been very satisfying.
Not having an image organizer included means you need to work with your operating system’s file manager or use an additional program. There are many free and cheap digital asset management programs that you can use to organize your photos.

Conclusion
For any photographer with years of experience using a particular brand of editing software, changing is a big step. If you’re new to photo editing, learning to use any photo imaging software manually is a big step, too.
Affinity Photo provides an impressive set of photo editing tools all within one application. I find it to be well laid out and intuitive to use after using Adobe products for many years.
For people new to photo editing, take the time to learn Affinity Photo. You’ll be able to use it to edit your photos just as well as any other available software.


