How to use the sky replacement tool in photoshop to add sky reflections
It is not trivial, but with some trickery, you can fool Photoshop’s Sky Replacement AI to replace more than just the sky. You could, for example, swap water as well. Here are the steps you’d need to take to use the sky replacement tool to swap water.
The base image
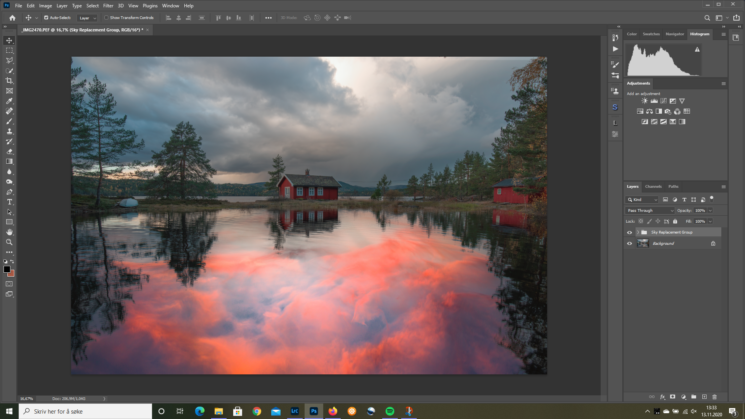
Below is the image I will use as an example image. As you can see, this scene doesn’t need a new sky or reflections, but it’s a good image to see as a base image, and I will use it nonetheless, just for example sake.
Add reflection
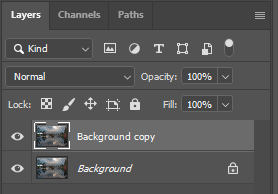
Start with duplicating the background layer.
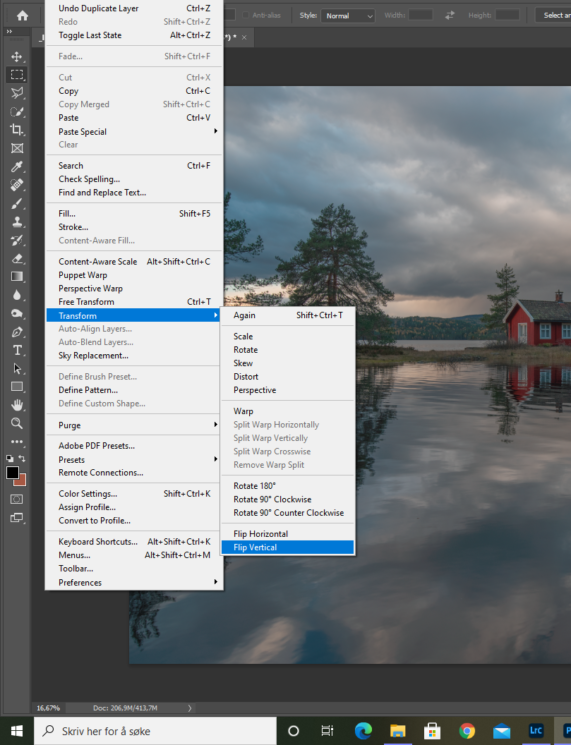
Then head over to Edit–>Transform–>Flip vertical.
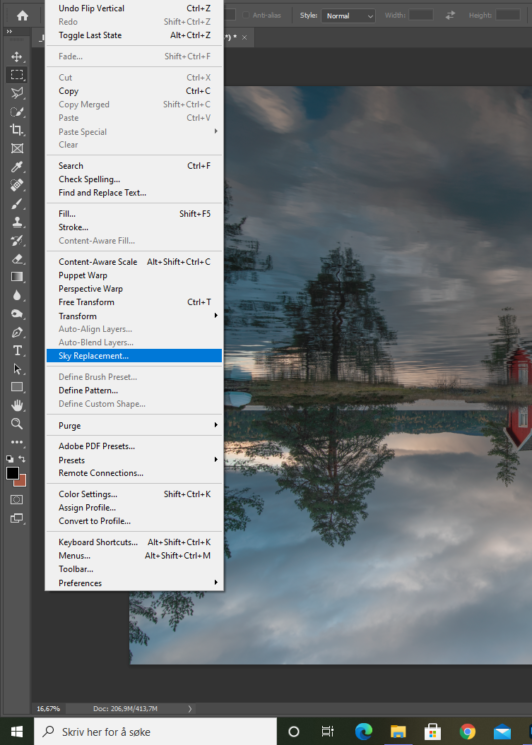
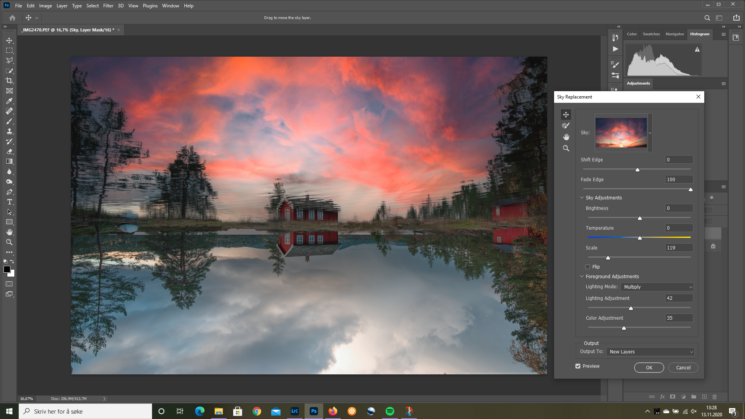
The reflection is now on the top of the shot, so It’s the sky. Now, launch Sky Replacement.
In this example, I use one of Photoshop’s default skies. The sky replacement algorithm is, evidently, tuned to work on the upper part of the frame. In this image, the AI found enough information to treat the water as a sky. I also tried other images, some with a darker foreground and some with more waves. This trick did not work in those instances, and the AI did not find a “sky” in the flipped image.
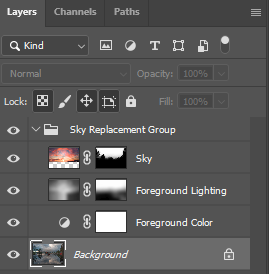
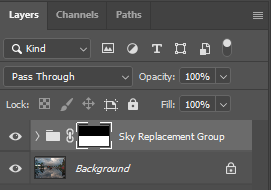
Back to Photoshop. You should now have a Sky Replacement group in the layer stack. You would need to flip the group vertically, but you have to add some chain links between the images and masks before you can do that. You ad those links so photoshop “knows” which mask to associate with which layer when you apply the flip vertical action. When you open the Sky Replacement group, it will look something like this:
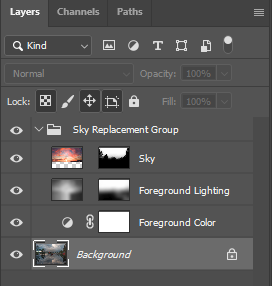 Click between the image and the mask to add mask links:
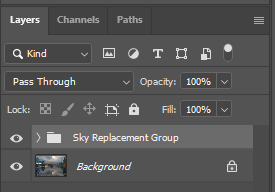
You don’t need the copy of the background layer anymore, so go ahead and delete it. Then close the Sky Replacement group, and highlight it.
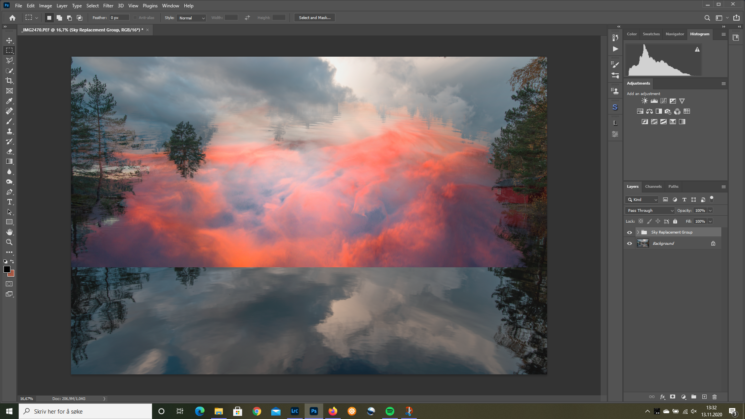
It is time to reverse the process! Head over to Edit–>Transform–>Flip Vertical. At this point, it will look like the process failed miserably:
To fix it, use the move tool and drag the reflection into its place.
Adding the sky
It is time to replace the sky. To make sure that the water reflection group doesn’t interfere with the next step, add a “rough” layer mask to the group and mask out the sky:
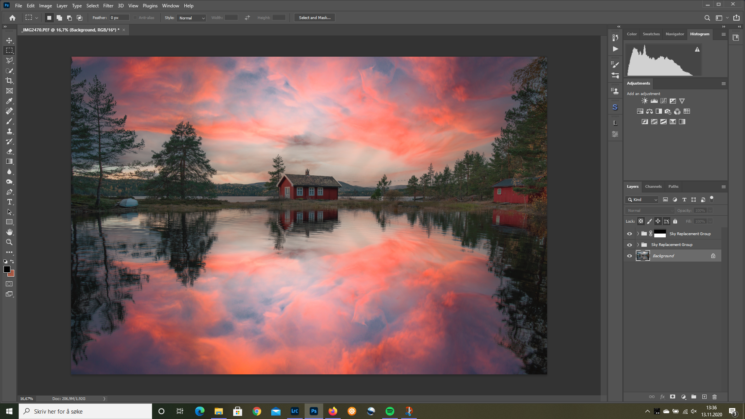
The next step is to highlight the background layer and relaunch the Sky Replacement tool. Below is the ‘finished’ image:
Conclusion
The process above may or may not be a good starting point for further editing. The procedure of adding a god sky reflection includes many steps and is a bit overwhelming. When I teach math, my students often learn algorithms that solve mathematical problems. The more often they use the algorithm, the better they learn and memorize the procedure. The same goes for Photoshop.

