
We have tested lightroom’s new color grading tool – here is what we think

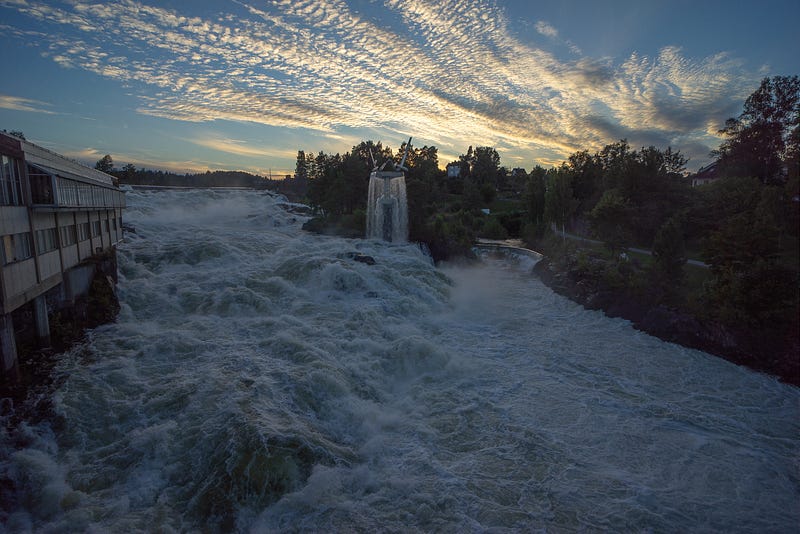
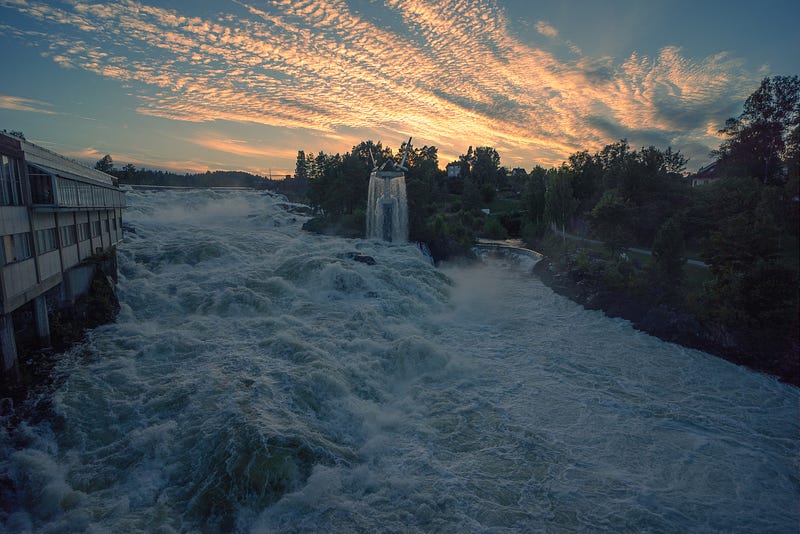
Hønefoss, Norway. The massive waterfall splits our small town in two.
In Lightroom’s newest iteration, Adobe has replaced the split toning tool with a brand new color grading tool. It is not only videographers who will benefit from a new and powerful color grading tool; it’s helpful for photographers. Landscape photographers have, for example, extensively use split toning to warm up highlights and add colder tones to the shadows.
I want to share a brief explanation of the various options the tool offers + reveal some hidden panels. I’ll also look at how hotkeys provide full control of the center points and knobs outside the color circles.
Before we start, let’s go over the new things. First and foremost, a color wheel now represents the colors. This makes it much easier to review complementary colors for better color harmonies. Lastly, a color wheel lets you adjust mid-tones and make global color adjustments also. The former split toning tool was restricted to shadows and highlights only.
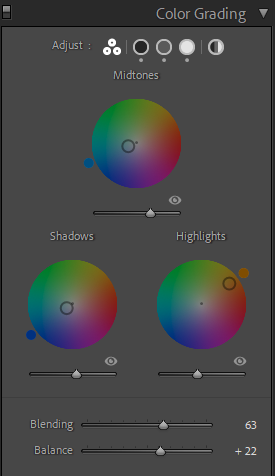
The panel
This is how the panel appears when we open the color grading section in Lightroom:
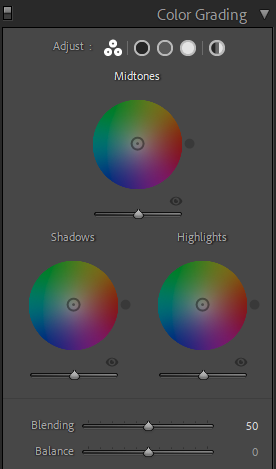
The icons at the top select the view mode and what you can do with the tool.
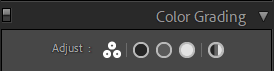
- The top-left icon opens the tool with the options shown in the first image above.
- The next icon opens the color wheel for the shadows.
- Then we have the mid-tones.
- The circle filled with white represents the highlights.
- The icon to the far right opens a color wheel that affects the image globally.
This is how things look if we click the shadows’ icon:
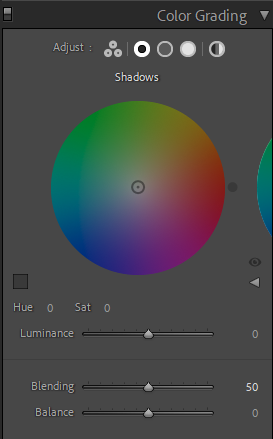
Notice the eye icon and the arrow below it. The eye icon toggles the adjustments on and off so you can see a before/after. The arrow opens up a hidden panel with sliders for further color fine tuning. The Luminance slider will adjust the brightness of the shadows (or of the selected view). The Blending and Balance sliders affect the image globally. We will have a closer look at those two later.
Hidden panel
The hidden panel:
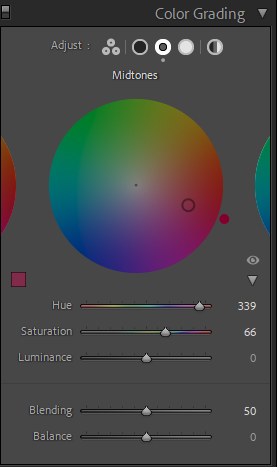
The Hue and Saturation adjustment sliders correspond to the adjustments carried out with the color wheel. The small dot beneath the mid-tones icon at the top indicates that we have adjusted this panel. If we continue adjusting, for example the shadows, a dot will also appear under that icon too.
The inner circle and outer knob
When we work directly on the color wheel, the outer knob controls hue, and the inner circle controls saturation. The position of the inner circle determines the level of saturation. It saturates the least when it is close to the center of the color wheel.
To make it easier to control the hue knob and saturation circle, you can use several control keys:
- Holding the Shift key will restrict wheel movement for saturation adjustments only.
- Holding the Ctrl key (Command key on macOS) will restrict wheel movement for hue adjustments only.
Blending and balance
The global Blending and Balance sliders will have the following effects:
Blending — Adjusts the amount of overlap between the shadows and the highlights.
Balance — Balances the effect of the sliders between highlights, mid-tones, and shadows. Values greater than 0 will increase the effect of the highlights; values less than 0 will increase the effect of the shadows.
Example images
Let us have a look at an image and see how color grading will affect its appearance.
Before and after color grading (the color graded image to the right):
How the color grading panel looks after the adjustments:
Let’s look at what happens when we set the Blending and Balance sliders to extreme settings.
Blending set to 100 to the left and 25 to the right:


It is now easy to see how high blending values give prominence to the highlight adjustments, whereas a low setting does the opposite.
Balance set to 100 to the left and -100 to the right:


How we set the balance slider can truly take things to the extreme.
Conclusion
The color grading tool is a great and welcome addition to Lightroom. It offers photographers a high level of control in terms of toning an image and will be a great asset to many in their post-processing. Specifically, the ability to control luminosity, blending, and balance is a great help for nailing the image’s final look.


