How to colour correct your footage without having to resort to LUTs

I’ve been using the ColorChecker Video and ColorChecker Passport Video since around the time they were first released a little over four years ago and you can read my review here. But when it comes to inserting them into your workflow, they can be a little confusing for people who’ve never used them before.
In this video, Gerald Undone takes a 26-minute deep-dive into how to colour correct your footage and grade log footage using the ColorChecker Video (and CCPV) in DaVinci Resolve.
Not all cameras are created equally. Even when you have the same white balance settings, different cameras can show a very different level of contrast and the colours can still be kind of all over the place when compared side-by-side. Even though grey might be perfectly neutral between different cameras, the way the data is processed can lead to slight colour inconsistencies.
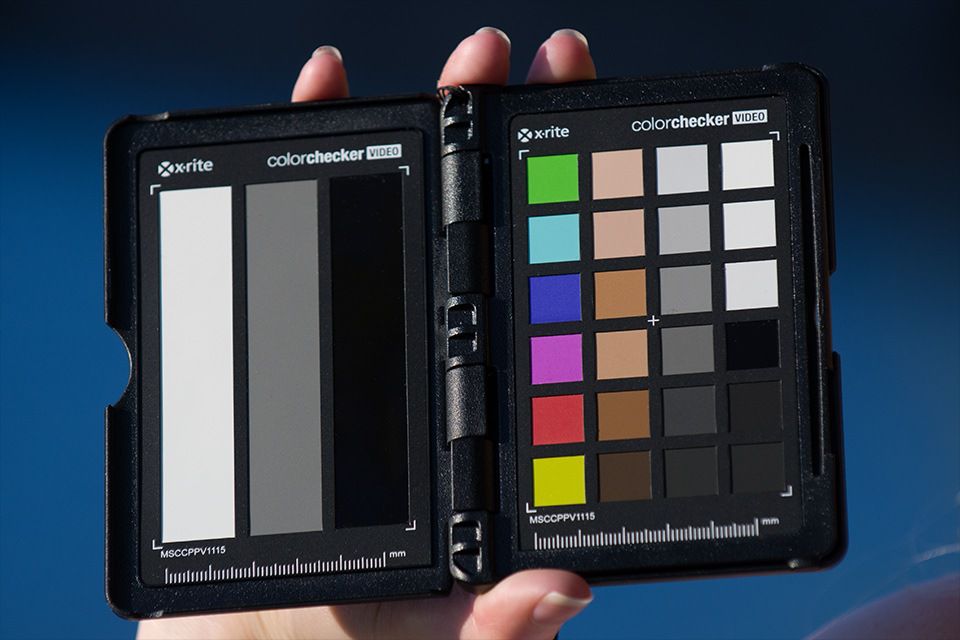
This is where the ColorChecker Video (and CCPV) step in. They feature a number of colours swatches to cover the six primaries (red, magenta, blue, cyan, green and yellow), various skin tones, as well as shades of grey from pure black to pure white. The six primary swatches match up with the six boxes in the vectorscope of most editing software like DaVinci Resolve or Premiere Pro, and the skin tone swatches run along the skin tones line.
You’ll see, as shown in the video, that when you import footage from different cameras, the swatches on the ColorChecker Video aren’t where they need to be, but when you understand how the colour correction tools in Resolve work (or your editing software of choice), then you can see how the ColorChecker Video easily lets you correct your footage to get them to match.
As an added bonus, Gerald also shows how the ColorChecker Video can help you to grade your LOG footage, which, no matter how you shoot it, is never going to look straight out of camera the way the actual scene did in real life.
While Gerald’s video is specific to DaVinci Resolve, much of the same principles mentioned apply equally to Premiere Pro or just about any other video editing software. You might just have to look in different places to find the tools in other applications to shift the colours where they need to be, but understanding the overall process will help you to figure out what you need to do.


