
10 Tips for Gorgeous Winter Landscape Photography

Winter landscape photography is a lot of fun – and it doesn’t have to be hard, either, assuming you know the right techniques!
In this article, I share ten critical winter landscape tips so you can start capturing beautiful snowy landscapes like the pros. Specifically, I discuss:
- The best time of day for winter landscape photography (this one might surprise you!)
- How to work with the weather
- The right winter camera settings
- How to enhance your winter landscape compositions
- Much, much more!
So if you’re ready to take your winter images to the next level, then let’s dive right in, starting with my first tip:
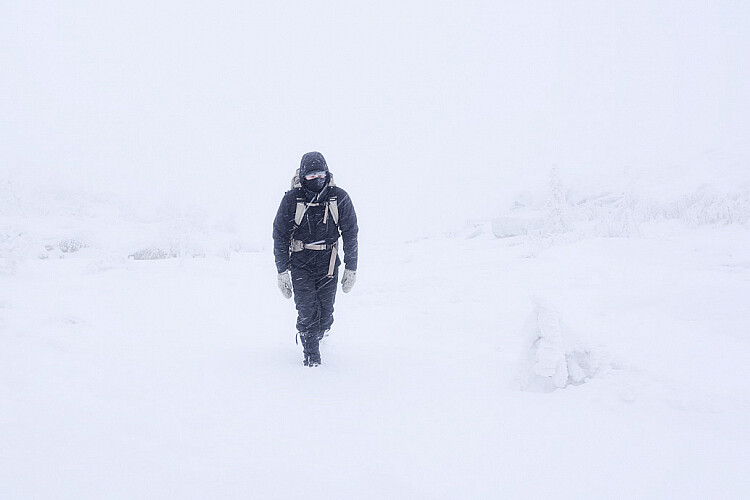
1. Pay attention to the weather
Weather can be the difference between an exhilarating photoshoot and a wasted handful of hours – so it’s always important to check the weather in advance, follow the weather on your phone, and constantly observe the conditions while you’re out shooting.
There’s not one best type of weather for winter landscape photography, of course. Instead, you need to think about the type of images you want to create, then make plans that coincide with your weather requirements. For instance:
- If you want to photograph a pristine snowfall at sunrise, make sure you choose a morning just after the snow has ended so that the blanket of white is completely undisturbed.
- If you want to photograph mountains or trees in a snowstorm, make sure you head out in the thick of the snow (or just before the snow starts). It can help to observe the snowflakes before setting off to make sure they’re reasonably large and are falling sufficiently fast; otherwise, you may struggle to capture the kind of moody winter landscape you’re pursuing.
You should also watch the weather for safety reasons. If you plan to photograph a snowy mountain scene from a high altitude, you’ll want to avoid driving in during a blizzard. Instead, you should wait until the snow stops or head out in advance. That way, you can capture the photos you want, but you don’t risk yourself or your gear in the process.
2. Look for contrast to make those winter compositions stand out
After a few days of heavy snowfall, the landscape will be completely white: white trees, white lakes, white mountains, and (normally) a white sky. And when everything is white, it’s quite challenging to find a compositional focal point as nothing really catches the eye.
So what do you do?
You look for contrast – either color contrast, where you find a splash of red, blue, or green against the white – or tonal contrast, such as a splash of darkness against the bright snow.
Here’s an example of color contrast, where I found a red house against a white and gray background:

The red color is what makes this picture interesting. Without it, the scene would lack a focal point and the viewer’s eyes would have no place to rest, which would make for a bad shot.
Happily, contrast is easy to find on snowy days because it’ll catch your eye just the same as it’ll catch a photo viewer’s eye. So you can just go around with your camera, searching for an eye-catching element or two. Make sense?
By the way, I find red color contrast to be particularly pleasing in winter landscape scenes, but you can really search for any dominant color or tonal variation. Maybe there’s an autumn leaf laying on top of a thin layer of snow, or maybe you can see a few skiers wearing red jackets, or maybe you’re standing before a dark mountain surrounded by white. Just find a dominant color or tone in the otherwise white landscape, then use careful composition techniques to make it a standout focal point.
3. Don’t be afraid to use manual focus
As I mentioned in the previous tip, winter landscapes can be intensely white – and when you’re dealing with monochromatic scenes, your camera will often struggle to lock focus.
When that happens, you have two options, both of which are generally effective. First, you can try using the focus-and-recompose technique. Simply set your camera to its AF-S (or One-Shot AF) setting, set the AF point to the center of the frame, half-press your shutter button to lock focus on an area of clear contrast in the scene, then recompose the shot. As long as you can find some part of your shot that’s contrasty – a few rocks, a lone tree, or a river – you’ll manage to capture a photo that’s both in-focus and well-composed.
Occasionally, however, you’ll run into a situation where your scene features very little contrast or the only clear contrast exists far behind your main subject. In the latter situations, I’d recommend switching your lens over to manual focus. Then set your camera to Live View, zoom in on your LCD, and carefully adjust the lens focus ring until you get a perfect result!
4. Use exposure compensation to ensure you capture plenty of detail
Camera meters are generally accurate, but they come with a significant problem:
They believe that everything should be a neutral gray tone. So while your camera’s meter will do a great job of properly exposing for medium-toned subjects, a bright white subject – like snow – will cause major underexposure. (Why underexposure? Your camera sees the bright snow and tries to darken it down until it turns gray!)
Fortunately, cameras offer an easy solution: You can add in a stop or two of positive exposure compensation (or, if you’re using Manual mode, you can deliberately overexpose). The perfect amount of exposure compensation depends on the scene, so I’d recommend testing out a few exposure adjustments to see what works. Just pay careful attention to the highlights; you don’t want the snow to become a detailless white!
I sometimes lighten my winter landscapes even further because I like to create a bright-white effect:

Such an artistic technique won’t work for every image. But plenty of snow landscape photography can benefit from a bit of extra brightness, and you can always create multiple shots and see which you prefer!
5. Choose a cold white balance to amplify the atmosphere
Technically, you can choose your white balance in camera or – if you’re photographing in RAW – in post-processing. Either of those options works well, though sometimes it’s nice to see a preview of the white balance in camera, so don’t shy away from doing it that way (and remember: you can always change it later!).
Anyway, because winter is cold, a colder (i.e., bluer) white balance tends to look gorgeous:

Note how the cool colors enhance the shot above. The image feels frigid, wouldn’t you say? That’s thanks to the color balance.
Now, I don’t recommend you go overboard. You don’t need your shot to look like it came from a blue alien planet. But feel free to push the white balance, experiment, and see what you get!
You’re also free to tweak the white balance in post-processing, assuming you’ve shot in RAW. You can use the Temperature slider to move back and forth between warm and cool effects, and you can decide which look you prefer.
6. Seek out intimate winter landscape scenes
Many landscape photographers feel compelled to capture sweeping shots that include everything in the composition…
…but did you know that you can also create beautiful photos from intimate subjects? I’m talking about those small-scale scenes that are easy to pass by without noticing, such as:
- Berries in the snow
- Bubbles trapped in ice
- Plants poking out from under the snow
- Drooping tree branches
Finding intimate landscape shots can be difficult at first, but with a bit of practice, you’ll start to notice all sorts of opportunities. And while you’re free to experiment with different camera setups, I’d recommend starting with a 50mm lens or a short telephoto macro lens. Then just see what you can create!
7. Photograph during the blue hour for ethereal winter landscapes
The blue hour refers to the time just before sunrise and just after sunset when the sun sits below the horizon and the world goes all beautiful and blue. During the blue hour, you still have enough light to shoot, yet nothing is lit directly. The light is soft and gorgeous.
And it works great for winter landscape photography.
You see, the soft light caresses the snow, making for a fairytale effect. And if your photo includes streetlights or house lights, the composition can turn even more magical. Here’s an example blue-hour image:

See the magical effect? And do you see how the lights from the cabins look truly gorgeous against the cold background?
Spend a few days shooting during blue hour, and you may start to feel overwhelmed by the cold and darkness; in other words, you’ll probably want to stay inside underneath a blanket.
But do yourself a favor. Force yourself to put on a coat, grab that camera, and get outside. The images will be worth it, even if the cold hits you like a blast in the face!
Note: You can still capture beautiful snowy landscape shots during sunrise and sunset or even around noon. But if I were able to choose just one time of day to head out with my camera during winter, it would be the blue hour. It really is that amazing.
8. Bring extra batteries and keep them warm
If you photograph in the bitter cold, then this tip is absolutely essential. Batteries drain much quicker in winter, and if you shoot mirrorless or you use Live View for most compositions, you’ll soon find yourself without a drop of charge – unless you remember to bring plenty of extra batteries. Original-manufacturer batteries can be pretty pricey, so you might want to consider purchasing third-party batteries. (Some people love them and some people hate them; in the end, the choice is yours!)
By the way, it’s a good idea to keep spare batteries in an inner pocket of your jacket. That way, the batteries stay warm, which prevents the charge from draining fast. And once you’ve finished with a battery, put it back in your coat; you can sometimes “resurrect” dead batteries with a bit of coat warmth!
(Make sure, however, you don’t put your camera in your coat. That may cause the lens elements to fog up, which is very problematic.)
9. Keep your gear clean and safe
Snow and cold may not seem quite as threatening to your gear as rain or sea spray, but they can still cause problems. Snow can collect on the front of your lens and cause blur; it can also melt inside your lens and – if left unchecked – lead to mold or rust. And cold can cause your equipment to fog up and/or turn frosty, neither of which are good for your images (or your gear!).
Therefore, I encourage you to take a handful of steps to actively prevent cold-weather problems:
- Don’t change lenses in snowy conditions
- Keep a towel and rocket blower handy to wipe the snow off your camera and lens
- If the snow is heavy, consider using a rain cover
- Always leave your gear in a tightly sealed bag when moving from cold to warm environments (and give the gear a few hours to acclimate before taking it back out)
- Don’t breathe on the front of your lens
10. Don’t forget to edit your winter landscape shots!

As a landscape photographer, you should do your best to get your photos right in the field.
Yet you should also spend time editing your shots, if only briefly. A bit of editing can dramatically improve nearly every winter landscape you capture, so I encourage you to review each image, then test out a few presets or play around with a few sliders (at the very least).
In particular, I’d recommend tweaking the white balance (as I mentioned above, I favor a cooler color cast, but you can push the Temperature slider until you get an effect you like), adding a bit of contrast, subtly boosting the exposure, fine-tuning the tones (especially the highlights and shadows), and experimenting with different hues and saturations.
Your editing skills will develop over time, but even a few minor adjustments can go a long way!
Winter landscape photography: final words
Hopefully, you can now confidently photograph winter landscapes – so the next time you get a nice snowfall, head outside! Take some photos, appreciate the beauty, and have plenty of fun.
Now over to you:
Which of these tips do you plan to use first? Do you have any winter landscape photography techniques of your own? Share your thoughts in the comments below!
-
GENERAL
-
PREPARATION
-
SETTINGS
-
LIGHTING
-
COMPOSITION
-
GEAR
-
ADVANCED GUIDES
-
CREATIVE TECHNIQUES
-
POST-PROCESSING
-
INSPIRATION


